Introduction and plot
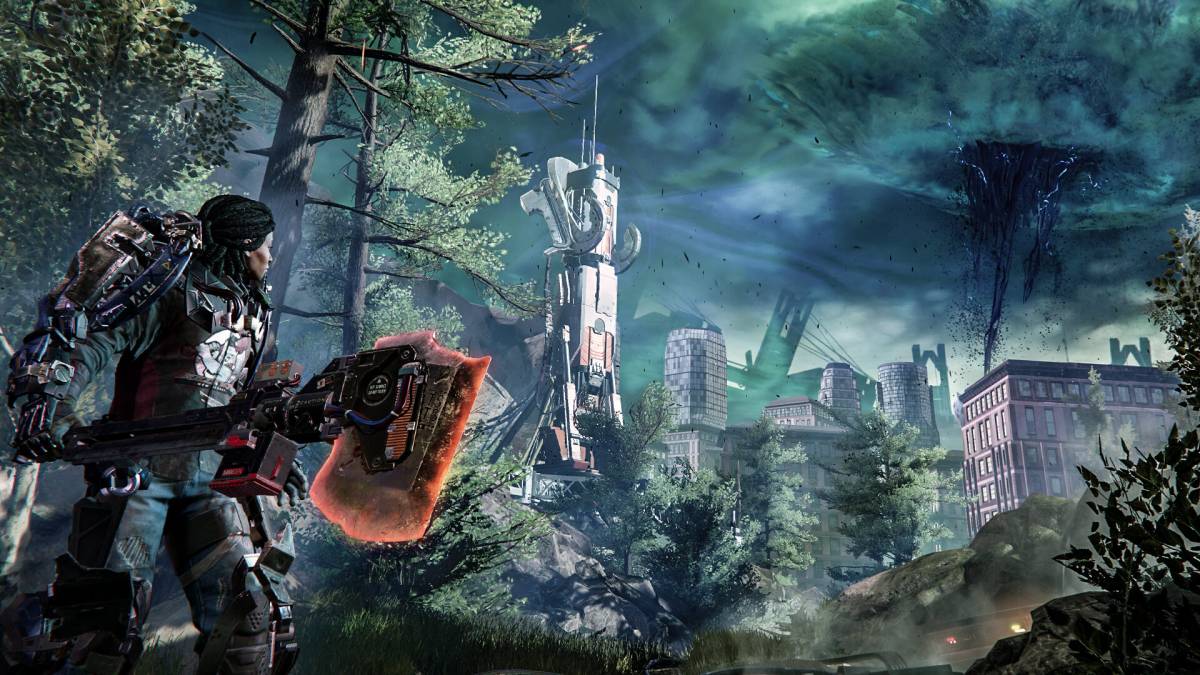
We present the page of Apocanow dedicated to the complete walkthrough and the guide of The Surge 2! Here you will find all the secrets and tips to get ahead in the game, overcome difficult parts and discover new parts of the game.
This guide might not be exhaustive! If you have found something new please contact us and we will be happy to update this article with your material.
The Surge 2 has been released on 24/09/2019 for PC / PS4 / XBOX ONE. We take care to update the list of consoles for which the game has been published over time.
Not enough? We also have cheats for The Surge 2! You can find them in the dedicated page of cheats and cheat codes for The Surge 2 into this site. Inside the page there are paragraphs about the cheats and the unlockables of the game. If you are stuck somewhere in the game, or you just want have more fun out of the rules, no way is better to consult the cheats we have collected for you.
We have also found a Trainer for this game, which we have posted on a separate page on this site. This software allows you to add cheats to the game that you could not get in any other way and activate them while you play.
In the page dedicated at the cheats for this game you can read the list of objectives to be reached for the corresponding consoles, together with a small explanation on how to reach them.
Let's move on to show you the walkthrough after the introduction we just wrote in. You may need to open more videos to view it all.
Part 1
This is the part 0 of the The Surge 2 Walkthrough and Guide, called: Part 1. Press on the video twice to open it!
Detention center
Just woke up, examined the room and gather all the collectibles. Outputs, and fight against the drone. Enter the door to find a recovery kit life, and then go back and go through the crack created in the wall. To be continued.
Turn right, and fight the drone and walk out the door. You arrive behind the detainee without making you see and kill it, then go in the crack on the floor. Continue and kill all the enemies in the atrium.
You will be unable to open any door with the strength, then climb the stairs and turn right to enter the control center. Continue opening the door to meet your first boss.
Violent Vic: is an inmate armed and armored, but attacks slowly. You have to dodge his attacks and hit him when he is not hitting him.
Once killed, you unlock the various other ports. Revenue in brings to you the front and get to the MedBay to get upgrades. Once out, you will have the strength to open the doors with the force. Then you can go back to the hall, and to liberate the captive, and open the door in the hall with the force. Back in the room where you fight the boss, open the door with the force, and continue. Enter the door to the right, climb the stairs and get to the other side. Continue along the path up to the corridor full of corpses, then turn right. Interact with the switch and run to the door. You will be treated to a scene, entering the fight with the next boss.
Warden Garcia: he is a guard, battleship, been very attentive to his attacks, be prepared to dodge a lot. You'll have to hit it a couple of times when you can and then retreat. Pay attention to the arson attacks and the drone that will deliver every time, able to hit you at a distance. To protect you from the drone, you can use the columns. Once you've killed the boss you will take possession of the drone.
Hear the echo, walk up the stairs to get upgrades, then turn right to pass the crack on the wall. Kill the enemies with the drone, then jump on the elevator-magnetic. Open the last gate to exit the complex.
The Centre Of The City
Right now, the game will become a open world where you are free to go where you want, and also to revisit areas you have already visited.
Just come talk with Brother Truman, then use the stairs and the elevator down. Talk with the alien and then use the MedBay. Outputs and scontratevi with the new enemies, until you get to Riverside Street. Turn right and go straight on by the road killing enemies. Cutting the limbs of your enemies you can capture the component project from their worn. Go down the street killing everyone. Into the fire you will find an access key. Look to the right, towards the bunker orange: you will find a switch. Use it now to open the door to the Detention center. You have been on them and does not have to re-enter it again. Go towards the exit Door Nixon. You will find two enemies strong enough to attend to you. The key is to attract them away one at a time and kill them. Continue and turn left after the truck to find an opening. Climb the stairs and go past the crack, you must open the door, and also the next with the force. Splurge on the inmate below you, continue on and turn left. Kill the enemies, go down below the crack, and then use the elevator-magnetic. You'll find yourself under a channel. The waters are radioactive, so you will need to avoid them, cross the channel and use the elevator radioactive at the end.
Now you can go to the left and to the right. If you go to the left, at the end of the path you will find yourself at the starting point, i.e. the MedBay where you met the stranger. You can use it for upgrades. To continue, instead, you have to choose the path to the right. Speak with the man. If you interact with the door behind him you'll be back to the MedBay of departure. Instead, go straight on to Boulevard Street. Kill the enemies and hear the echo. Go to Welder Street, an area with many lanes and so many enemies, mainly useful to get resources.
Cleaned up the streets from the enemies and explore. You arrive at the bridge on the channel and sorpassatelo killing the enemy. Go forward and you interact with the door to change the zone.
The court of the Sea: Just arrived to talk with the people around, then use the MedBay. Look around, talk with Molly Fox to get a secondary mission. Climb the stairs and talk to the Brother Eli, who will give you a mission. Climb up to speak with the distributor. Get off at the floor below and the door that gives to the Port Nixon.
Part 2
This is the part 3 of the The Surge 2 Walkthrough and Guide, called: Part 2. Press on the video twice to open it!
Port Nixon
Turn left and continue towards the alley full of buckets of dirt. Kill the spiders mechanics along the route, climb the stairs up to reach the hanging cables. At the moment you can't use these cables as a means of transport, then turn left and continue across the bridge to the pipes. Listen to the audio and activated the MedBay to talk with Little Johnny, and in the end used the MedBay to power-ups. Turn to the right, indicating the arrows and follow the path killing the enemies.
Continue to get you from Mortimer Gideon the Third. Give him 1 piece of Techscrap to have a dialogue with him and get information.
Turn right and get down. On the right you will find a drop-down that take you to the alleys in residential areas. Kill all, then get off, continue and turn left to ascend. Go ahead and get off to yourself in the Paper Street.
If you interact with the door and use the elevator magnetic, you'll find yourself at the starting point, where is located the bridge with the tubes. Instead, go up and kill all the enemies, and continue to encounter in the wetlands.
Listen to the echo the retrieved the contents of the chest, and from here continue to the left where you will find the enemies in the distance, kill them all. The road is completely contaminated, then you have to go sideways to get over it, passing through the paths on the side. You reach the gate unlocked to get to the starting point with the pipes, to follow the path, instead turn left inside the tunnel. Go in the room with the lift magnetic, and kill all. If you exit, you can turn left to reach the Cemetery of the Ship. Pay attention to the drone armed on the right: you will not see but is hostile. Take the road to the left, climbs, and you'll find yourself in the court of the Terminal Z.
You begin to fight, but the bridge will rise up. You'll have to kill them all, and re-enable the bridge from the terminal at the bottom to continue. Once the bridge is lowered will come out the other two enemies to defeat.
Part 3
Here is the video Part 3, number 5 of the Guide of The Surge 2.
Part 4
This is the part 6 of the The Surge 2 Walkthrough and Guide, called: Part 4. Press on the video twice to open it!
Part 5
Press two times to show the video number 7 of the The Surge 2 Walkthrough, entitled: Part 5.
Part 6
Here is the video Part 6, number 8 of the Guide of The Surge 2.
Part 7
This is the part 9 of the The Surge 2 Walkthrough and Guide, called: Part 7. Press on the video twice to open it!
Part 8
Press two times to show the video number 10 of the The Surge 2 Walkthrough, entitled: Part 8.
Part 9
Here is the video Part 9, number 11 of the Guide of The Surge 2.

 The Surge 2: Cheats and cheat codes
  Trinity Fusion: Walkthrough and Guide
  Renfield: Bring Your Own Blood: Walkthrough and Guide
  Avatar: Frontiers of Pandora: Walkthrough and Guide
  The Walking Dead: Destinies: Walkthrough and Guide
  You Will Die Here Tonight: Walkthrough and Guide
  The Expanse: A Telltale Series: Walkthrough and Guide
  Firegirl: Hack 'n Splash Rescue: Walkthrough and Guide
  Oblivion Override: Walkthrough and Guide
  The Last Faith: Walkthrough and Guide
  Nickelodeon All-Star Brawl 2: Walkthrough and Guide